A performer ordered a cat helmet. The technical part was clear; the hard part was the character — the difference between cute, fierce and comic is a few millimetres.
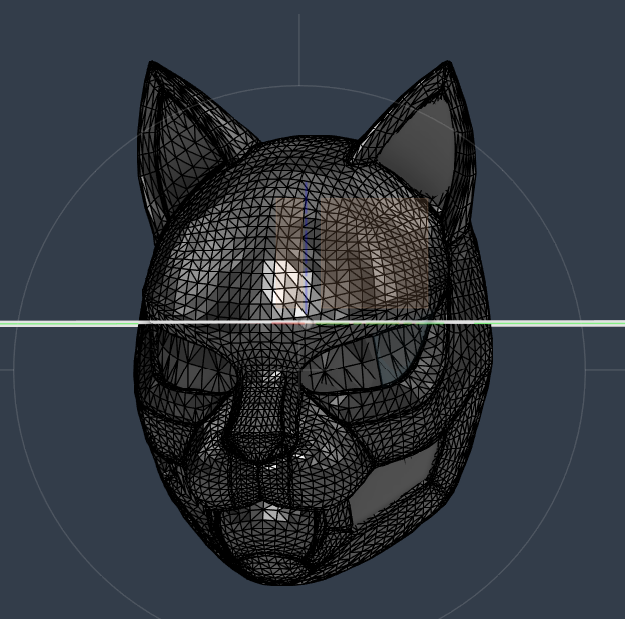
Version before revisions
What the client noticed
Ears too big, mouth too big — the face looked comic.
Eyes not expressive enough; the outer corner needed to be sharper.
The helmet had become too narrow.
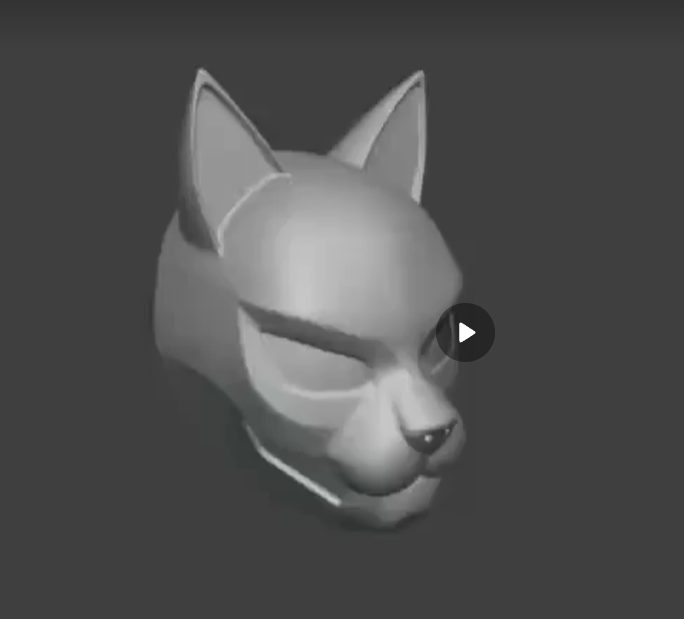
Target look agreed with the client
What we changed
Smaller mouth and ears, sharper eye corners.
Cheek openings for the mesh made 10% smaller.
Outer side of the ears smoothed.
A check that the eyes in the printable mesh match the approved CAD version exactly.
Why it matters
For character masks we compare every render with the reference the client sends, and keep the printable file and the approved design in sync. It is the only way the finished helmet looks like the picture the client fell in love with.
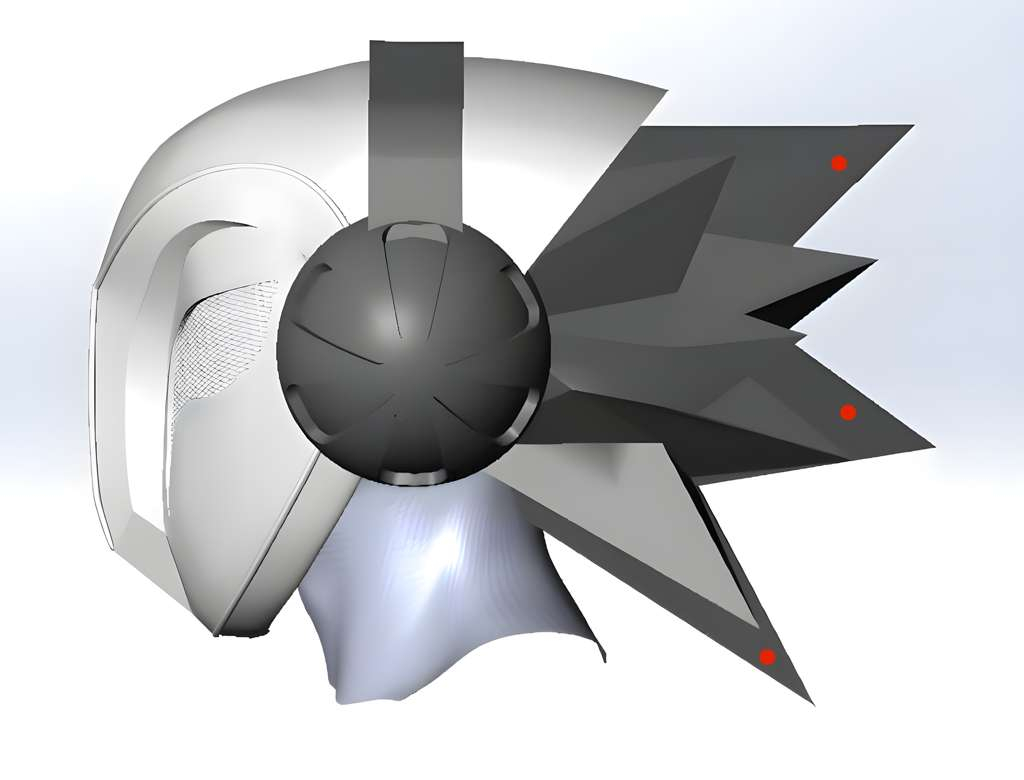
A performer already had a low-poly character mask and wanted a proper stage helmet in the same style: spikes as hair, large headphones and a black visor. This case shows why we lock every detail in the 3D model before anything is printed.
The brief
Start from the client’s existing mask files and head measurements, and keep its identity.
Streamlined, narrow and close-fitting — not bulky.
Spikes like in the reference, smooth (not low-poly) headphones.
Black one-way visor: you see out, nobody sees in.
Ventilation and minimum fogging, low-voltage electronics fully insulated against sweat.
Three rounds of changes
The narrower shape was right from the start, but the client asked for three aesthetic fixes before printing:
Headphones — back to the larger, more expressive shape from the first render.
Spikes — a stricter, even structure with more volume, matching his character model.
Back of the helmet — a specific gap geometry so it sits properly without making the head wide.
Later the client sent a reference with slightly moved eye openings, placed exactly in front of his eyes for the best field of view, and finally small changes to three spikes on the cap. All of it was done in the model — no reprinting.
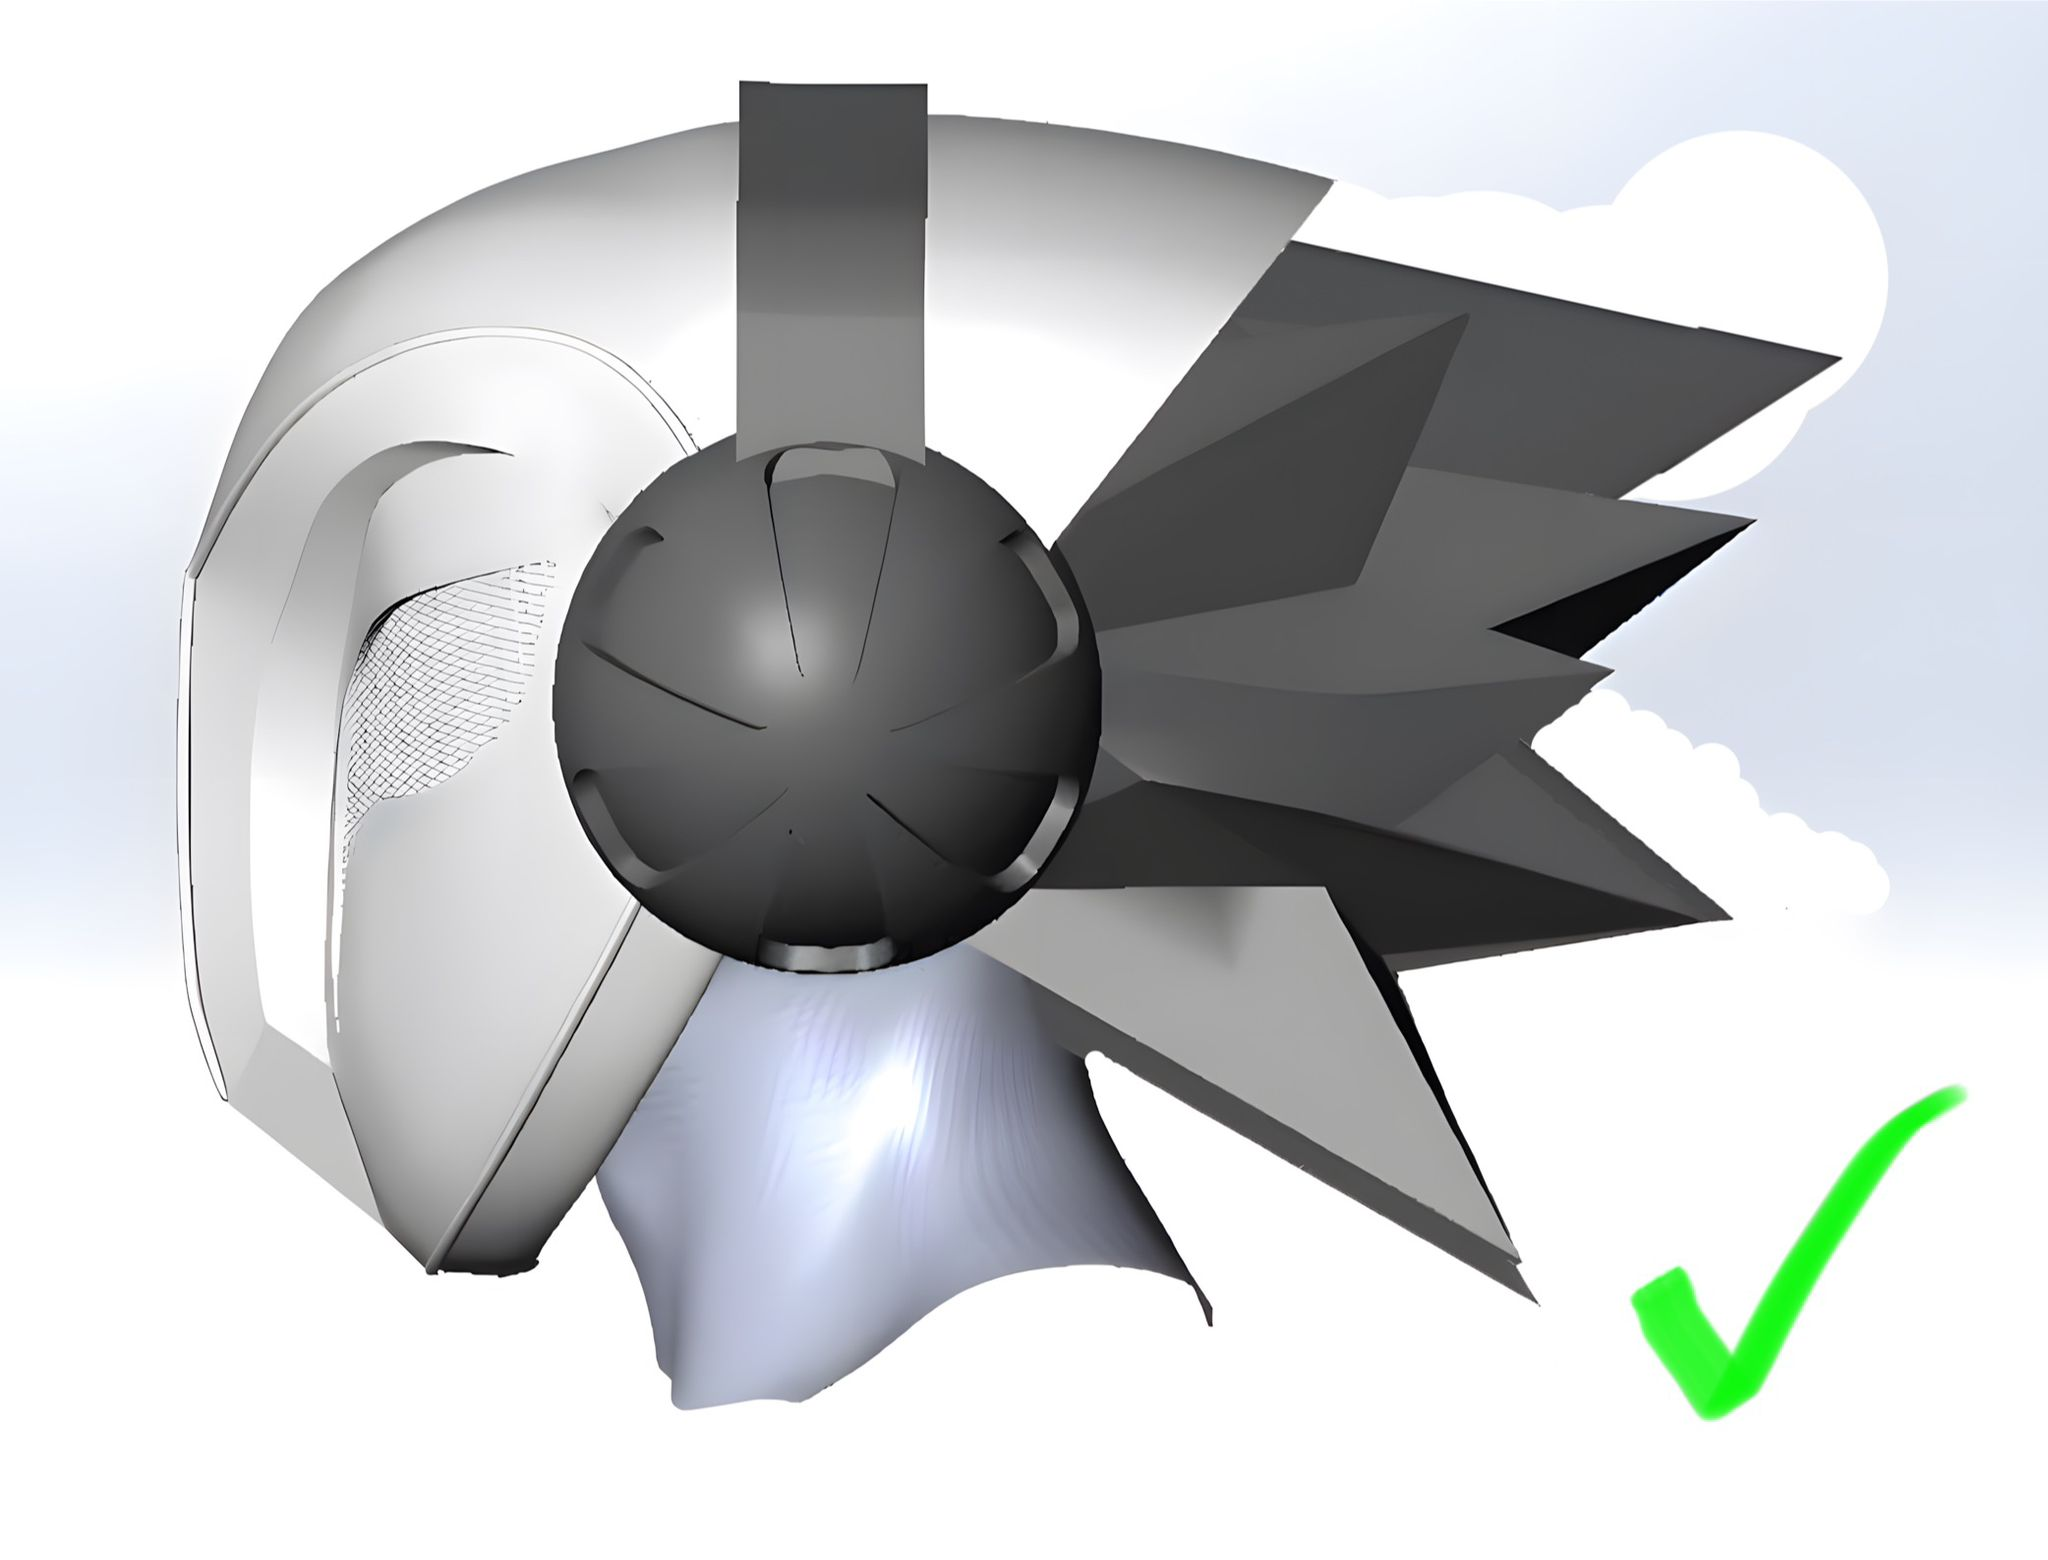
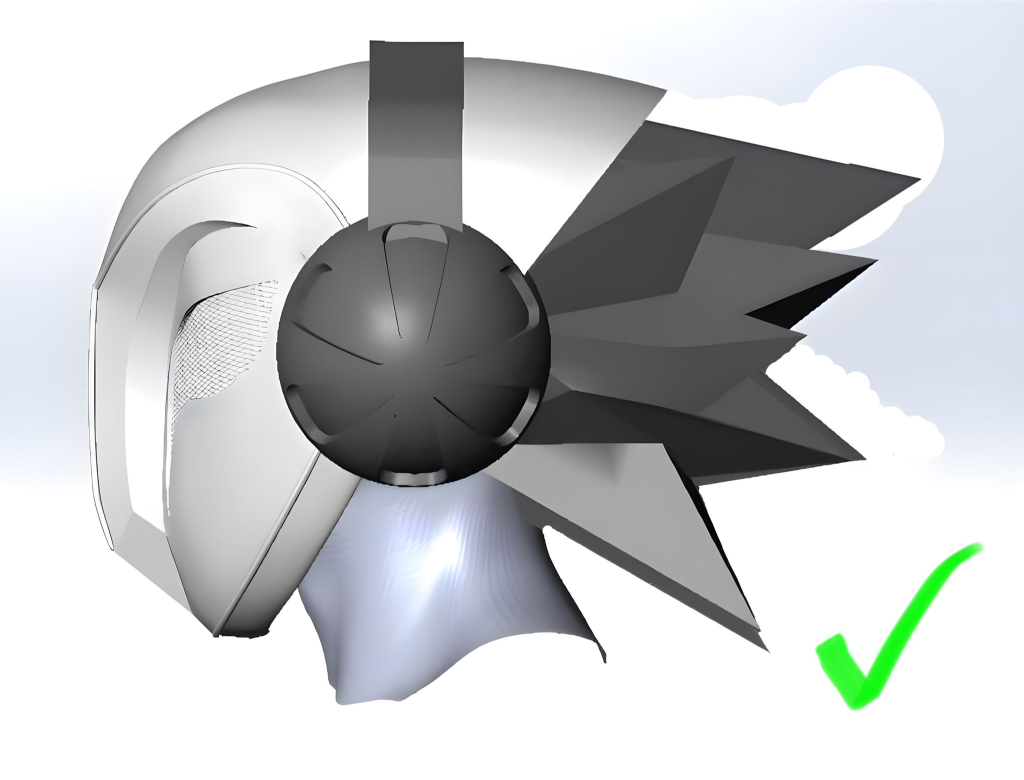
Final design
The takeaway
Changes in a 3D model cost hours; changes after printing cost days and materials. That is why every custom order goes through render approval first.
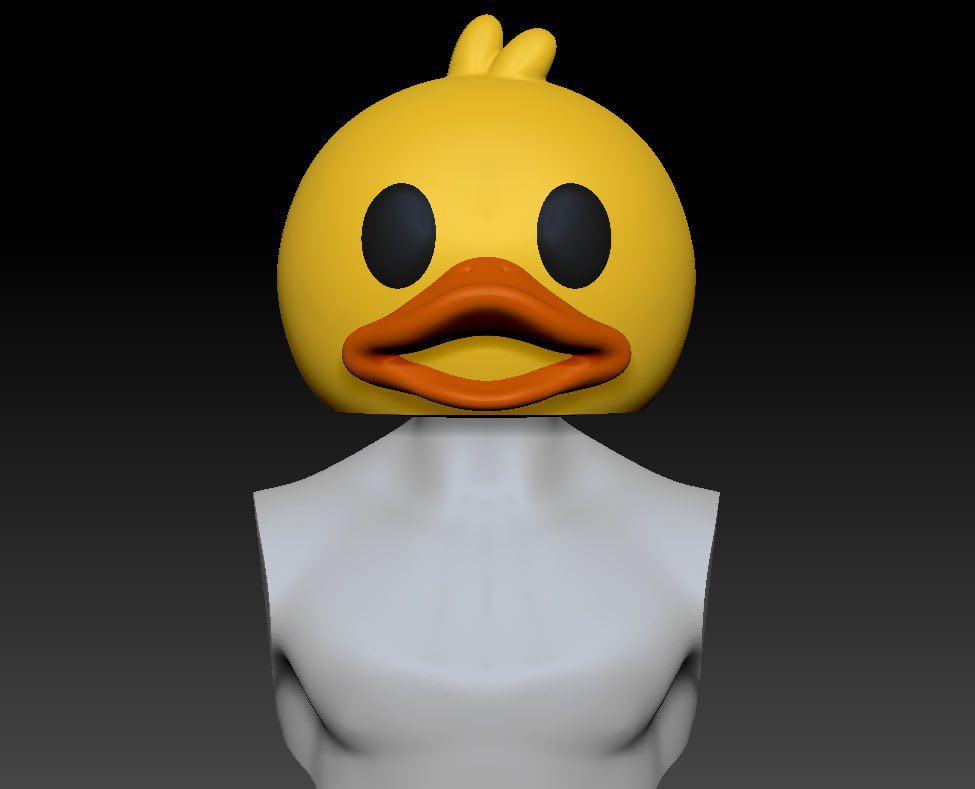
A DJ came to us with an oversized duck-head helmet that looked great but had one big problem: he could barely see his equipment through the beak. The task was to make a new helmet that keeps the character and fixes visibility and comfort.
Concept render
The brief
Big duck head, cute but sleek, premium stage look.
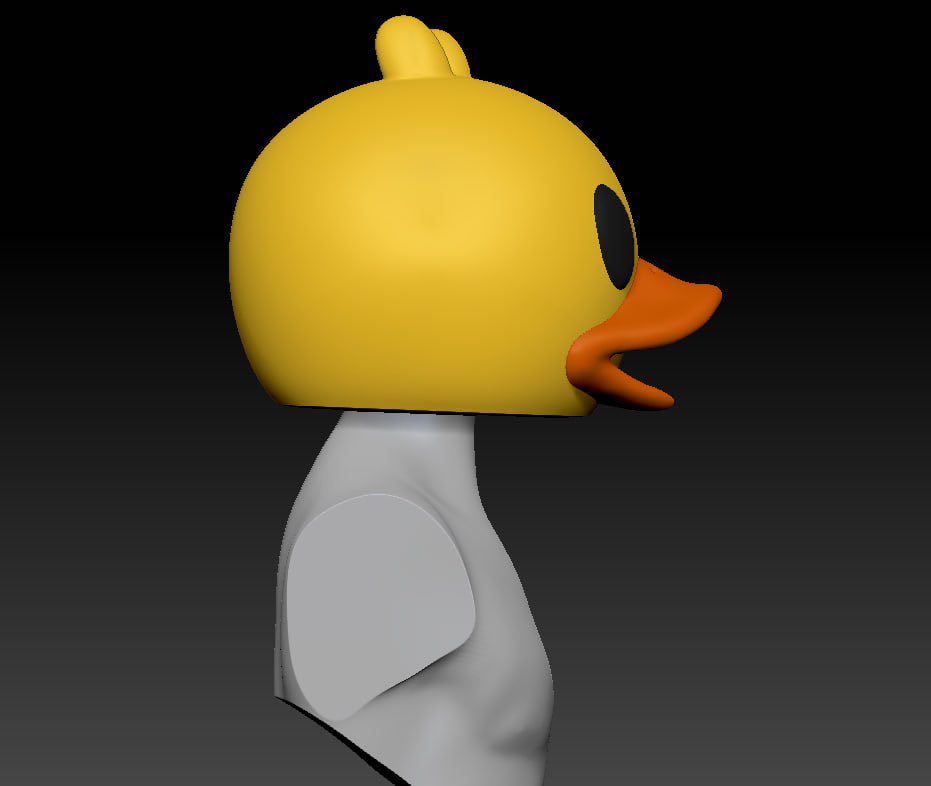
Glossy yellow shell, rigid orange beak that holds its shape.
Light only in the eyes and the beak — no glowing shell, no video screen.
Worn for at least two hours: inner cap, chin strap, stable during movement.
Ventilation with a small fan and room for in-ear monitors.
Head size M, 55 cm.
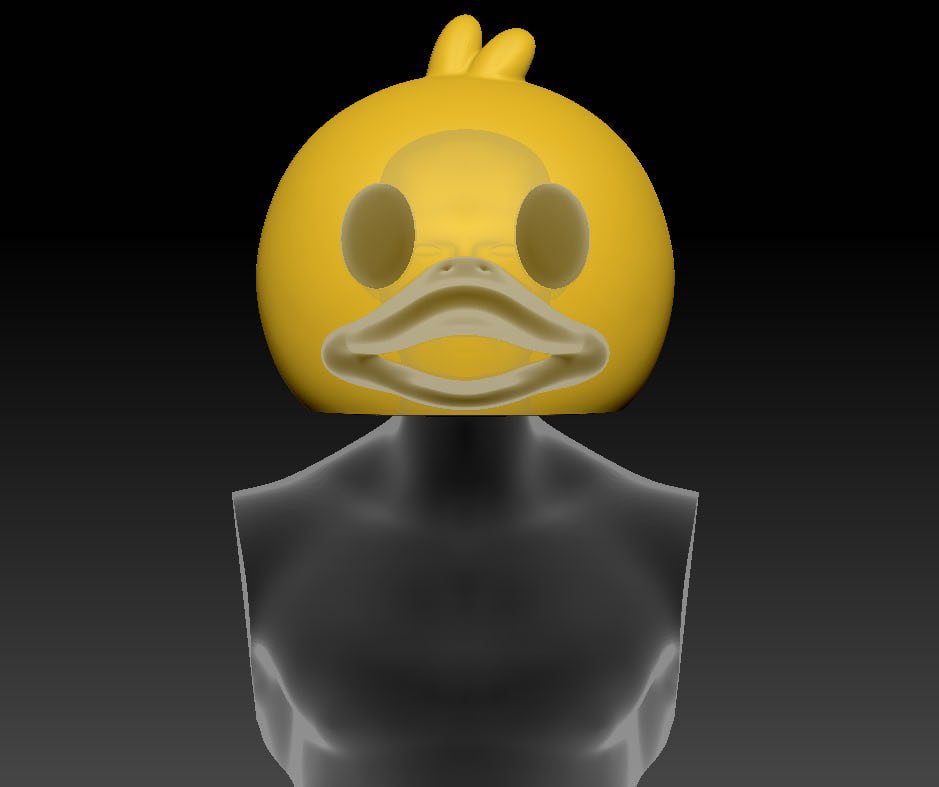
Visibility first
Visibility was set as the main priority next to comfort. We work out hidden viewing zones, mesh and technical openings in the 3D model, so the artist can see the mixer and the crowd while the eyes of the duck stay intact from outside.
Side view
How it is built
3D model and renders for approval.
3D printing with structural reinforcement — fibreglass and epoxy resin.
Filler, sanding, primer, base colour and glossy clear coat for a smooth, seamless, scratch-resistant surface.
LEDs in the eyes and beak, low-voltage electronics, fan.
Timeline
Design and development take about 1–2 months, production about one month. For a show date in August, the project should start in May.
An electronic music artist asked us for a full-head performance mask covered with small square mirror tiles that also glow. The challenge: make every tile light up evenly without losing the disco-ball look when the LEDs are off.
The brief
Realistic human head shape, 360° coverage including the back, fully anonymous.
Square tiles of 10×10 mm (up to 12 mm), placed slightly at random like the artist’s current mask.
Each tile must glow evenly — no bright dot in the middle — and the light must not be too strong, so the squares stay readable.
No light on the face; dark acrylic over the eyes with a view forward and down to the DJ equipment.
Ventilation, a mouth area that lets the voice through, a removable inner liner.
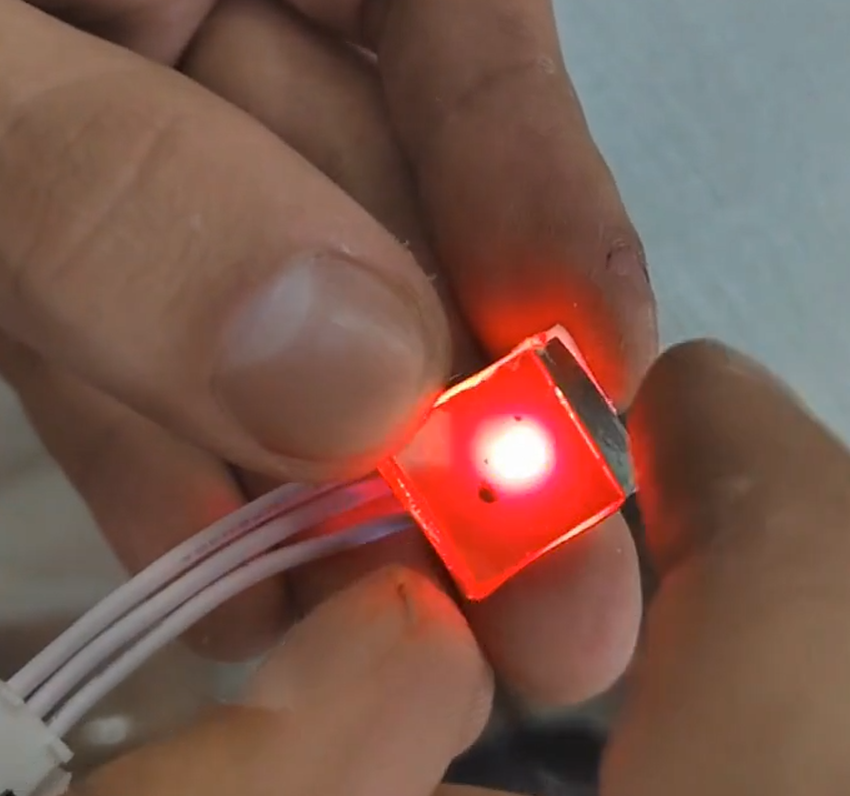
First light tests: a single LED gave a focused hot spot
Why we started with samples, not the mask
Putting LEDs straight under mirror tiles gives a single bright point and no side glow. Instead of guessing, we agreed a small paid sample stage and built test tiles first:
Mirror tiles with CNC-cut cavities for the LEDs.
Matte white acrylic tiles for a soft, even glow.
One-way mirror tiles with an LED behind them — mirror when off, colour when on.
High-density LED panels from our screen mask with 1×1 cm tiles on top.
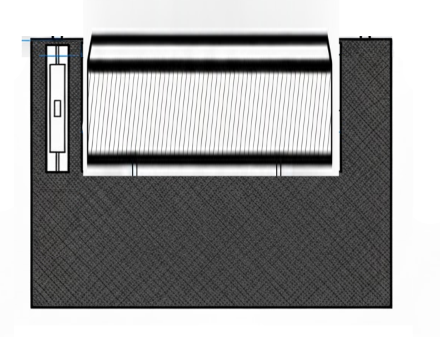
We also tested a side-lit design: a 3D-printed cell with a hidden groove for a thin LED strip, so the light comes from the edge and creates a halo around the mirror.
Test cell with a hidden LED groove
What we learned
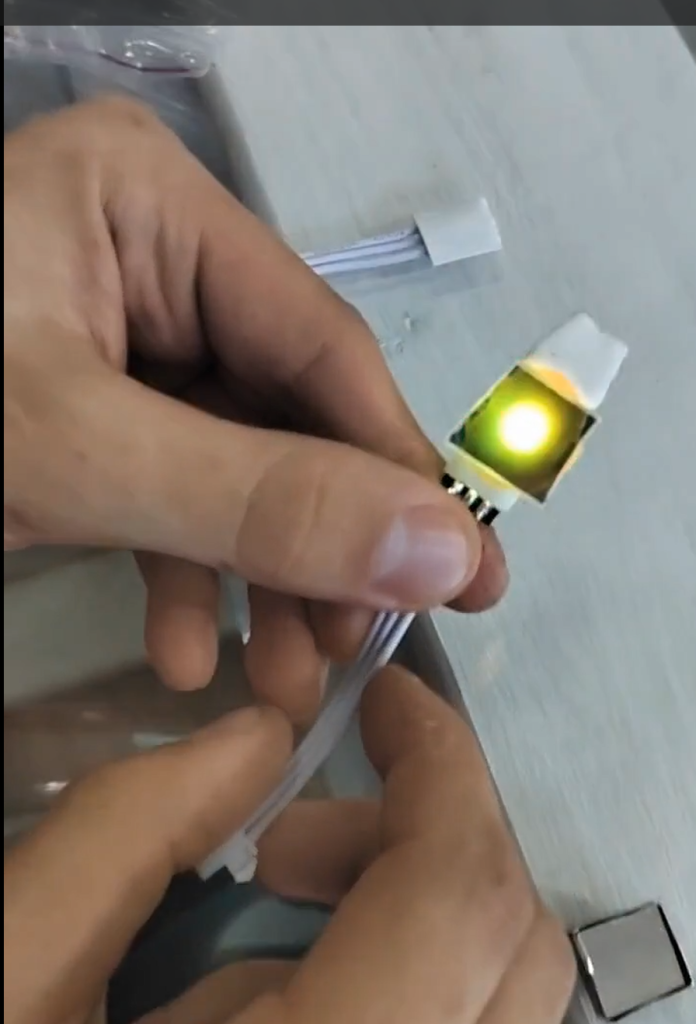
The first variant looked like a focused point; a diffuser helped, but the glow was still too concentrated. The next step was acrylic diffusion and small 2×2 or 3×3 LED cells, so one tile reads as one solid square of colour. The client confirmed the priority: an even colour glow matters more than the mirror effect.
Next stages
The client chooses the tile look from photos and video of the samples.